If you are looking for a smooth workflow for working with Canon EOS R5 C MXF footage in Premiere Pro CC, you may have interest in this post. It presents a workaround to transcode EOS R5 C 4K MXF files for use in Premiere Pro CC flawlessly.
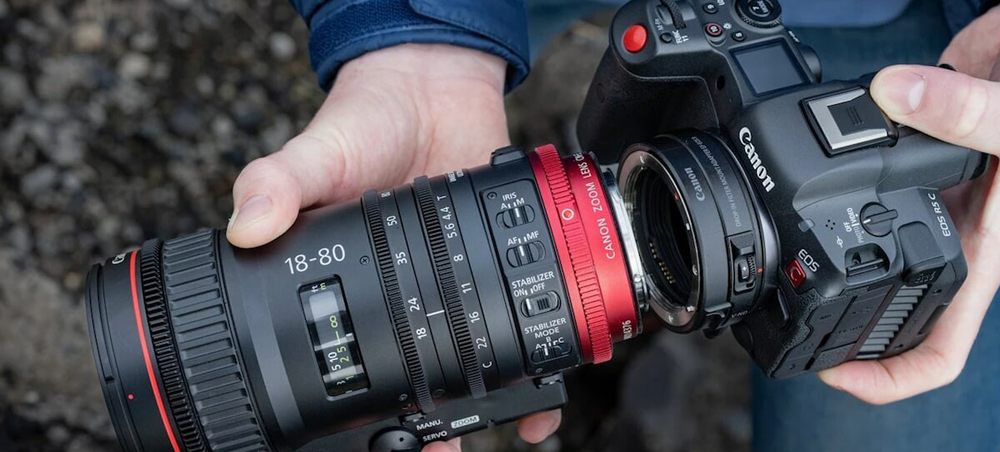
The EOS R5 C camera offers users a wide variety of recording formats to choose from to fit output needs. Along with Cinema RAW Light, which provides light data sizes for RAW recording, the EOS R5 C camera supports MXF-based XF-AVC, which conforms to broadcasting standards, and highly versatile MP4. XF-AVC codecs offer robust 10-bit 4:2:2 files in a .MXF wrapper for simple compatibility with non-linear editing systems (NLEs) and existing workflows. Can we import and edit 4K MXF in Premiere Pro CC smoothly on Mac and Windows?
Although AVC-Intra/AVC-LongG/XF-AVC (.mxf) is a new proprietary video format for the efficient recording of high-image-quality 4K, 2K and HD video footage, Canon has officially announced that MXF is compatible with many non-linear editing systems. For those who still have issues editing Canon EOS R5 C MXF files in Premiere Pro CC, we would recommend converting them first. That’s where a MXF Converter comes in. Read on to learn a quick guide on how to convert EOS R5 C MXF videos to H.264 MOV for use in Premiere Pro CC fluidly.
[Guide] How to encode Canon EOS R5 C MXF for Premiere Pro CC editing?
Download and install MXF to Premiere Pro CC Converter, then follow these steps:


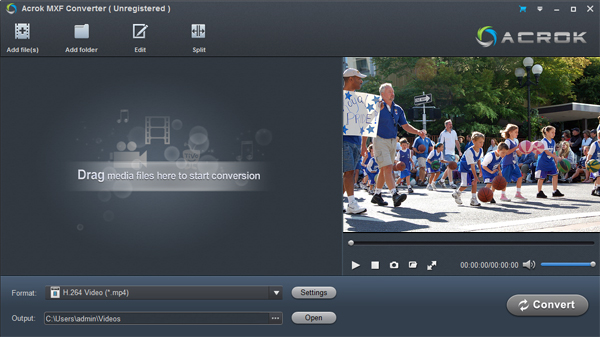
Step 1: Run Acrok MXF Converter as a professional Canon EOS R5 C Video Converter. When its main interface comes up, click “Add File” to load source MXF video to it.
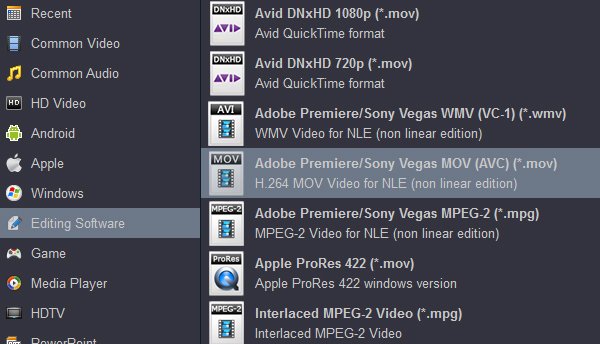
Step 2: Select output format for Premiere Pro CC
In this step, you need to choose Premiere Pro CC best editing format as theoutput option. From “Format” list, move to “Editing Software” catalogue, and select “Adobe Premiere AVC (*.mov)” as target format.
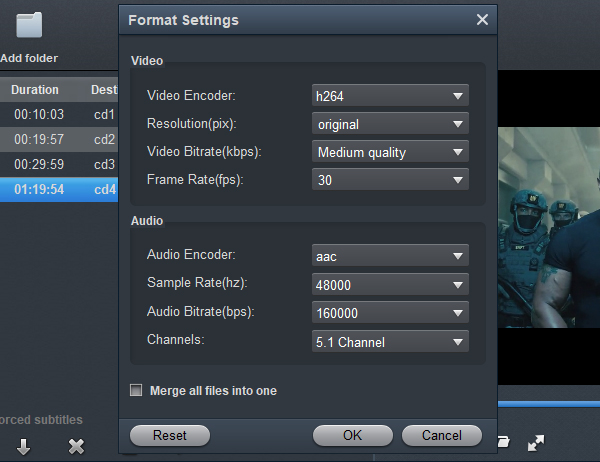
Step 3: Adjust video and audio settings (for advanced users)
If necessary, you can click “Settings” button and go to “Profiles Settings” panel to modify video and audio settings like video encoder, resolution, video bit rate, frame rate, aspect ratio, audio encoder, sample rate, audio bit rate, and audio channels. Non professionals can skip this step directly.
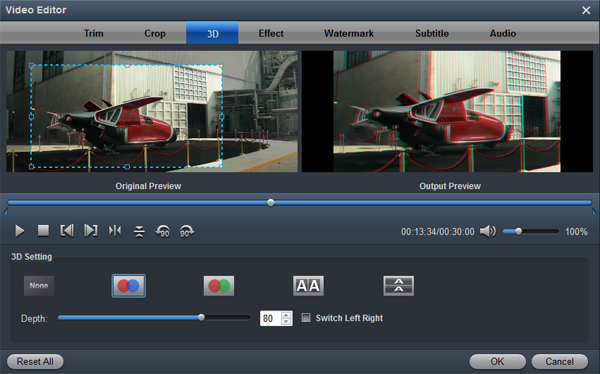
Step 4: Click “Convert” to start Canon EOS R5 C MXF files to H.264 MOV conversion. Before starting the conversion process, you can select the video you wan to edit, then click “Edit” icon to edit 4K MXF files as your needs.
Step 5: When the video conversion is done. Click “Open” button to get generated MOV files for use in Premiere Pro CC with optimum performance.

No responses yet