
“I have an issue with Lumix G9 MP4 footage in Premiere Pro CC. Worked perfectly with Sierra, not working anymore with High Sierra. Premiere Pro reports an import error, then you can play the clip but no sound. Does anyone have the same issue? How do you solve it? Please kindly suggest a solution if you know. Thanks in advance.”
Cannot import Lumix G9 4K 60P MP4 footage into Premiere Pro CC? This issue may happen due to various reasons. If you are trying to figure out a way solve the issue, you are just here in the right place. Here in this tutorial, we present a way of encoding Lumix G9 4K MP4 MXF video files to MPEG-2 codec for working with Adobe Premiere Pro CC flawlessly.
The Panasonic G9 is the first Panasonic Lumix camera with an LCD window on top of the body. Advanced photographers who were used to photographing with a high-end SLR camera appreciate an LCD screen on top of the camera. Outstanding video performance with high-precision, silky-smooth 4K 60p recording (QFHD 4K: 3840 x 2160 / MP4). Plus, high-speed video recording yields a dramatic slow motion effect in 4K (60 fps max. 2x slower [30p playback]) or Full HD (180 fps max. 6x slower [30p playback]) quality.
After the upgradation to 10.4 with macOS High Sierra, Premiere Pro CC has issues coping with 4K MP4 footage from Lumix G9 and other cameras. To be able to use Lumix G9 4K MP4 media in Premiere Pro CC fluidly, you could convert them first. Check a guide on how to encode Lumix G9 footage to MPEG-2 codec for editing in Premiere Pro CC fluently.
How to transcode Lumix G9 MP4 footage to MPEG-2 for Premiere Pro CC editing?
To transcode Lumix G9 MP4 video files to MPEG-2, do as below:
Acrok Video Converter Ultimate for Windows and Acrok Video Converter Ultimate for Mac


1. Add videos
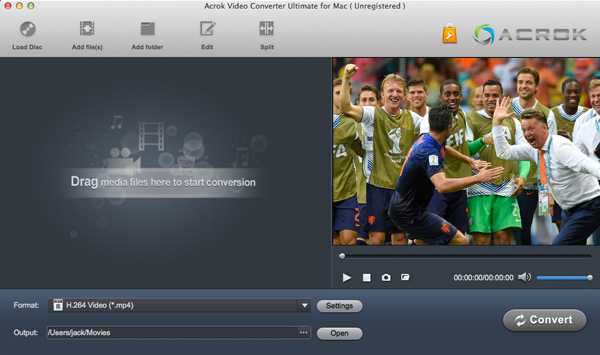
Start up Acrok Video Converter Ultimate and click “Add File” to load Lumix G9 4K MP4 video files that you need to convert into this Top 4K Video Converter. This converter supports batch conversion, so you can import a bundle of files into it to do conversion at a time.
2. Choose output format
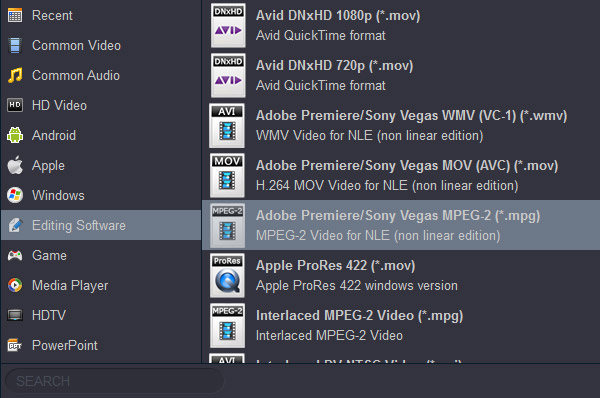
Click “Format” to select output format. We would recommend choosing “Editing Software” > “Adobe Premiere/Sony Vegas MPEG-2 (*.mpg)” as output format. MPEG-2 is Premiere Pro’s favorite editing codec, which Premiere Pro CC will recognize and handle well.
Tips:
If necessary, you can click “Settings” button to modify video and audio parameters like encoder, resolution, frame rate, bitrate, aspect ratio, sample rate, and audio channels. You can also “Enable 3D Settings” to add 3D effect to your source media.
3. Start video files conversion
Click “Convert” to start Lumix G9 MP4 to MPG conversion. As soon as the conversion is complete, click “Open” to get the generated files for editing in Premiere Pro CC on your Mac with optimum performance.

No responses yet