The Panasonic HDC-TM900 is the successor to the HDC-TM700, an HD camcorder advanced in low-light video quality and broad set of manual control. The TM900 offers the same stunning video performance as its predecessor, particularly with its widely-praised 1080/60p mode and compatibility with the 3D attachment. The TM900 can be considered as a mild improvement to the HDC-TM700m, slightly larger and heavier with a 3.5in LCD, providing a 12x optical zoom and 35mm equivalent wide angle for capturing more of the action at close quarters.
VirtualDub is a free video capture/processing utility for 32-bit and 64-bit Windows platforms (98/ME/NT4/2000/XP/Vista/7). VirtualDub features delete segments of a video file, append new segments, or reorder existing segments, as well as batch-processing capabilities for processing lots of files, and can be extended with third-party video filters. Supporting both DirectShow & Video for Windows capture, though lack the editing power of a general-purpose editor such as Adobe Premiere, specially designed for quick capture and encoding videos, mainly geared to AVI files.
As an extension to the AVI file format, DivX Codec has the ability to compress lengthy video segments into small sizes while maintaining relatively high visual quality, So, to import Panasonic AVCHD MTS/M2TS to Virtualdub, you need to transcode Panasonic AVCHD to AVI with DivX codec for Virtualdub editing.
Acrok HD Video converter is professional AVCHD to Virtualdub conversion software, with efficient processing system to convert and merge camcorder AVCHD MTS/M2TS clips to other compatible format for Virtualdub, Motion Perfect, Corel Video Studio, etc.


This is a tutorial to convert TM900 AVCHD MTS/M2TS to DivX AVI for Virtualdub. Le’s take a look!
Step 1: Load AVCHD MTS/M2TS content to Panasonic AVCHD Converter
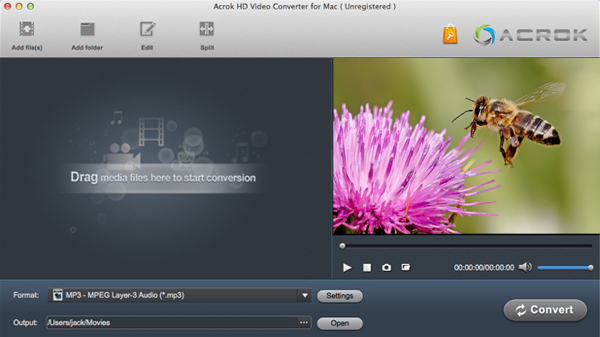
Add MTS file to this AVCHD MTS converter or drag and drop MTS files into file area directly.
If you save MTS video in an AVCHD folder, you can click “add a folder” icon to load all MTS clips.
Tips: You’d better to copy the whole structure of AVCHD folder instead of separate MTS content to get the uncompressed AVCHD MTS version.
Step2: Select AVI as the output format for Virtualdub
Click “Format” bar and choose “Common Video”, choose the “DivX AVI-Audio Video Interleaved (DivX) (*.avi) as the output format.

Step 3: Set audio and video profile
Before convert Panasonic AVCHD MTS/M2TS to Virtualdub, you should select video size as original so that the output to keep uncompressed 19208&1080 resolution of source MTS/M2TS in output DivX AVI. Besides, you can set Video Bitrate as high qualtity to maintain output DivX AVI with high AVCHD video quality for further editing in Virtualdub.
Step 4: Start encode AVCHD MTS/M2TS to DivX AVI
At last, click the “Convert” icon to convert and copy AVCHD to DivX AVI. Then you can freely edit the converted AVI video with high quality in Virtualdub.


No responses yet